The difference between a professional-looking paint job and a DIY result that needs repainting in two years is almost never the paint itself. It is the preparation, the order of operations, and the quality of the application tools. Professional decorators working in the UK rely on a consistent process that most homeowners skip in the eagerness to get to the visible part of the job.
Preparation: Where Most of the Work Happens
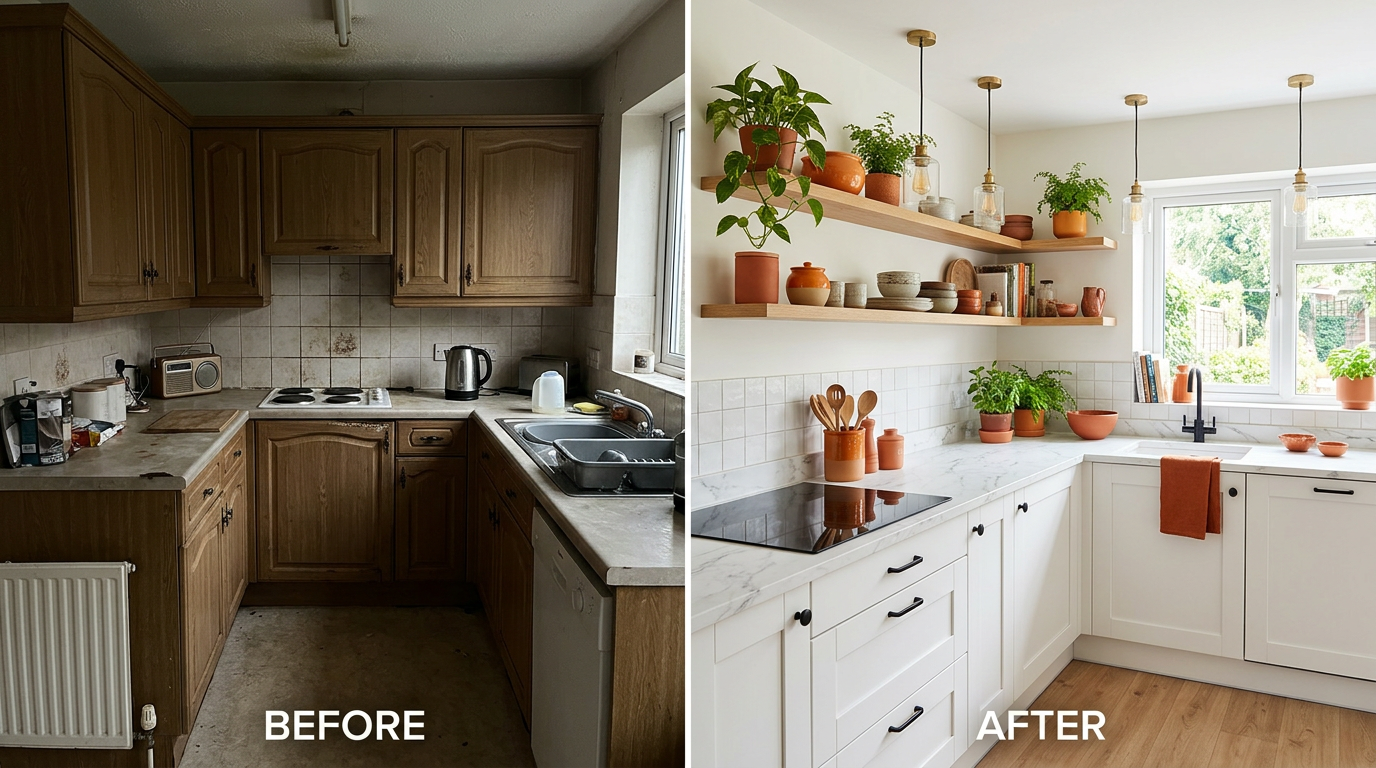
Professional decorators estimate that preparation accounts for 60–70% of the total time on any painting job. The walls must be clean, dry, and free of grease before paint is applied — kitchen and bathroom walls in particular accumulate invisible grease films that cause paint to adhere poorly. Sugar soap, available from any UK hardware or DIY retailer, removes grease without damaging the surface and should be used on all walls before painting begins.
Holes and cracks must be filled and then sanded smooth. Ready-mixed filler from brands like Polycell or Ronseal dries in 1–2 hours for small repairs. After sanding, a light coat of PVA solution (1 part PVA to 5 parts water) applied over filled areas prevents the filler from absorbing paint at a different rate to the surrounding wall, which would otherwise be visible as a patch in the final finish.
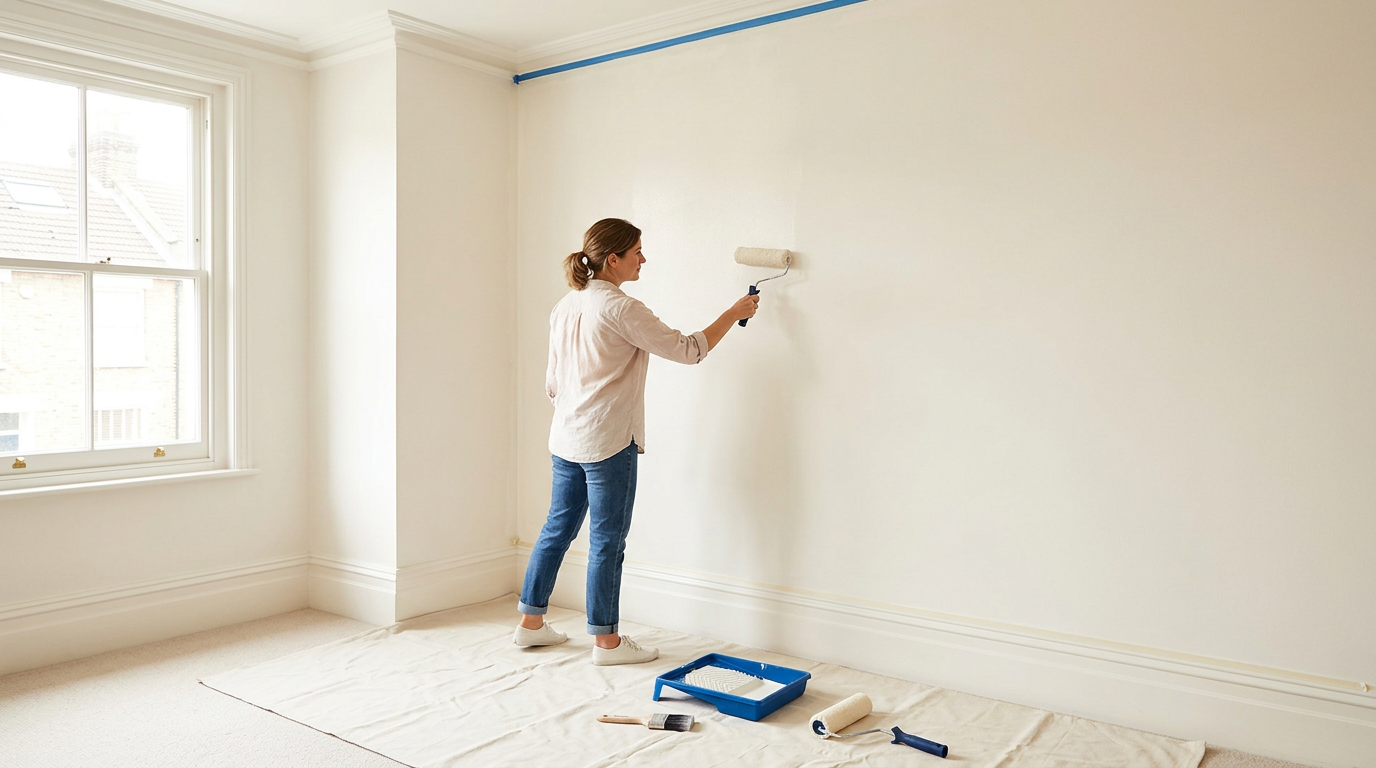
Painter's tape — the blue or green low-tack tape sold in DIY stores — should be applied to all edges, skirting boards, and window frames before painting begins. Remove it while the paint is still slightly wet, not after it has fully dried, to avoid pulling dried paint with it.
The Correct Order to Paint a Room
Professional decorators follow a specific order that prevents drips and over-painting:
- Ceiling first. Paint the ceiling before the walls. Any drips or splashes on the walls will be covered.
- Walls next. Start with the edges and corners (cutting in) using a brush, then fill the main areas with a roller.
- Woodwork last. Skirting boards, architraves, and window frames are painted after the walls are dry, allowing any splashes on woodwork from wall painting to be covered.
Brushes and Rollers: The Investment Worth Making
A cheap brush will shed bristles into the wet paint and leave brush marks. A quality brush — from brands like Purdy, Hamilton Acorn, or Harris — holds more paint, releases it evenly, and leaves a smoother finish. A 2-inch angled brush for cutting in and a quality 9-inch roller sleeve (appropriate to the surface texture) are the two tools that make the largest difference to the quality of the final result.
Microfibre roller sleeves are the current professional standard for emulsion on smooth walls; they leave a finer, more even finish than traditional foam or sheepskin alternatives.
How Many Coats?
One coat is almost never sufficient. Two full coats of emulsion, with the first allowed to dry completely before the second is applied (typically 2–4 hours for water-based paints at normal UK room temperatures), is the standard professional approach. In some cases — going from a dark colour to a light one, or using a cheaper paint with lower pigment density — a third coat may be necessary.
The most common mistake I see is people going back over wet paint. If you see a thin area, leave it. Come back when it's dry and apply a second coat. Painting over wet paint drags the layer below and creates marks that are very difficult to remove.
Which Paint to Choose
For UK walls, a water-based emulsion is the standard choice. Flat/matt finish suits most living rooms and bedrooms and hides surface imperfections most effectively. Eggshell or satin finish adds a slight sheen and is more washable — better for hallways, children's rooms, and kitchens. Brands such as Farrow & Ball, Little Greene, and Fired Earth offer premium pigment density and coverage; Dulux, Johnstone's, and Crown offer more modest options at significantly lower prices per litre.
Editorial note: For informational purposes only. FireDesigners is an independent publication by Newsquest Media Group Limited.